Today I want to talk about some lessons I learned from The One Room Challenge. Funny how some friends of mine are surprised to learn that things don’t exactly go super smoothly and more than often you encounter a problem here and there and have to figure out how to deal with it. Nothing major nor life threatening but it takes a lot of planning, hard work, and help (lots of it!) to get a room done in 6 weeks while you balance work, life and motherhood. Oh and let’s not start with the mess, it all gets messy, real messy before you see these beautiful (can I dare to say so? wink wink) photos.
Given that I’m a total hands-on gal and like to do things myself, I of course decided to tackle every single task on my own and ask for help when I needed it or when receiving a favour from a friend sounded way better than having to pay for professional handy work. I guess we can all agree that if you can go that way then by all means do it, right?
So, without further ado, here are a couple of lessons (tips and links included) I learned from redoing my entryway and powder room. Hope you find this info useful!
1. ON PAINT: White paint behaves differently depending on the room and whether or not there are windows. Sounds obvious but when you are not an interior designer that’s not exactly the first thought when you are choosing it. If you have a dark room, even a white color can look light grey so keep that in mind!
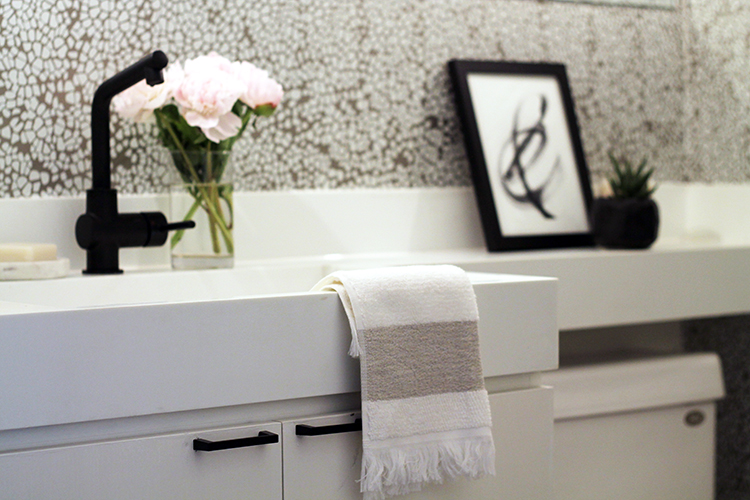
2. ON PUTTING UP WALLPAPER BY YOURSELF: Putting wallpaper by yourself is definitely a challenge and it does get messy, however, it’s completely doable if you are up for the task.
First of all, I think that when it comes to wallpaper, half of the battle is won if you do get the right paste consistency. Here in Toronto I could only find this kind of paste and it took time (hours people, hours!), effort and research to get it to the right consistency. If you follow the instructions you will not get it right, trust me, I tried, tried and tried. So when I was about to completely abandon the task (on a late Saturday night I must add) I decided to do some research and found this video to be incredibly useful. I would have never been able to put that wallpaper if it wasn’t for it. Those package instructions are so so wrong. Of course, after I got the right consistency I had no choice but to put it all up at midnight! What can I say??
As for the steps to follow, I did some research in advance and found this video to be useful. Of course, keep in mind that if you’re doing this for the very first time, it will probably (ok most likely!) won’t look that easy and effortless (I ended up putting paper towels on the floor because the glue was dripping down) As for the materials needed, you’ll definitely need all those and be ready to measure, you will do lots of it, probably as much if not more than the actual hanging.
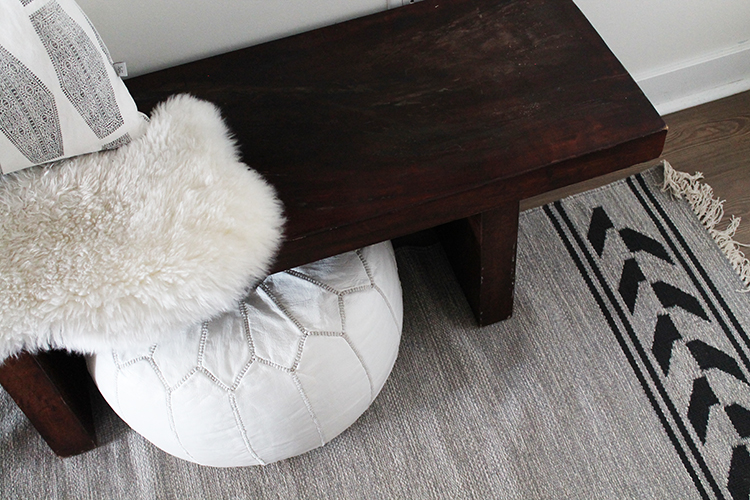
3. ON CHOOSING PRACTICALITY OVER LOOKS: Sometimes you have to compromise a certain look for something that is more practical, otherwise, at the end of the day, you’re going to end up paying more. I had great contenders for the runner but after hearing some good advice from my pal Natalie, who is an interior designer, I had to scratch some options off the list. I originally wanted this, this or this one, but in reality, in an area that receives a lot of traffic they wouldn’t have been the most practical choices (shags shed a lot and sequins would have come out easily). According to Natalie, for an entryway, the ideal would be a sisal or jute runner, and wool is durable and easy to clean. If it’s a low traffic area then you can get away with a cotton one.
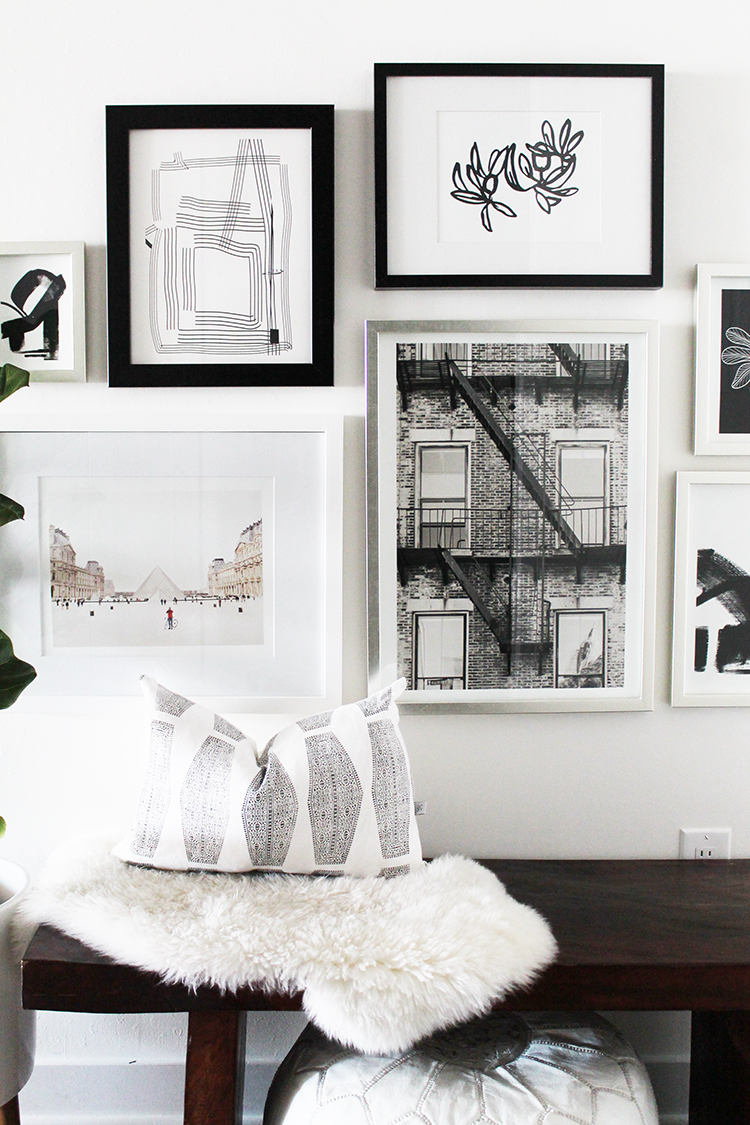
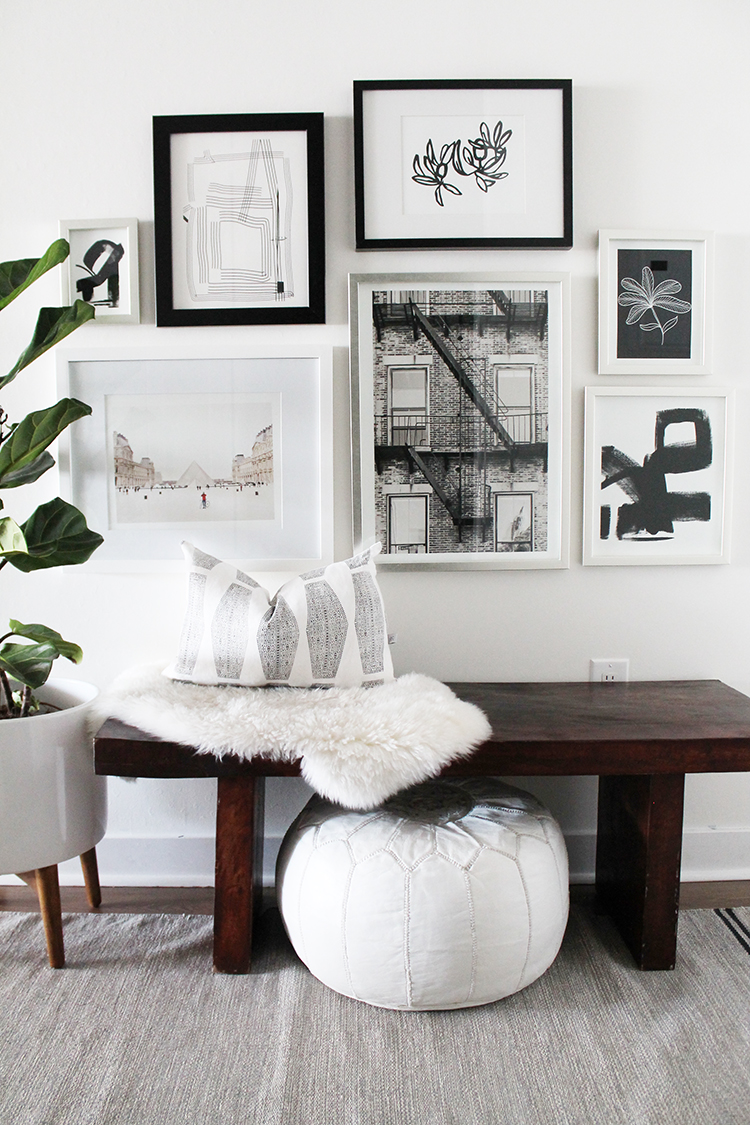
4. ON FRAMING: I looove the fact that Minted offers framing and you can have a clear idea of how the print looks framed in different finishes, but because I was ordering too many prints the shipping was going to get too expensive so I opted for finding local options instead. Custom framing can be reeeeeally expensive, so before heading that way I checked in with cheaper options. Ikea can be a cheap fix but I find their sizes to be super odd (anyone else?) I was happy when I found amazing frames at Indigo in just the right size and finish, and I re-used some old ones.

5. ON CHANGING FAUCETS AND SCONCES: People, I know how intimidating those tasks sound and if it wasn’t for my friend Daan who offered to help me who knows what I would have ended up doing, but let me tell you, they are SO easy to change! Changing sconces it’s pretty simple and straight forward and I’m hoping to share a step-by-step post soon because it would save you some bucks if you need them to be changed and don’t know how. Faucets are also simple to change and maybe you would need someone with strength to do it, but it’s pretty straight forward and this one from Ikea is easy to install.
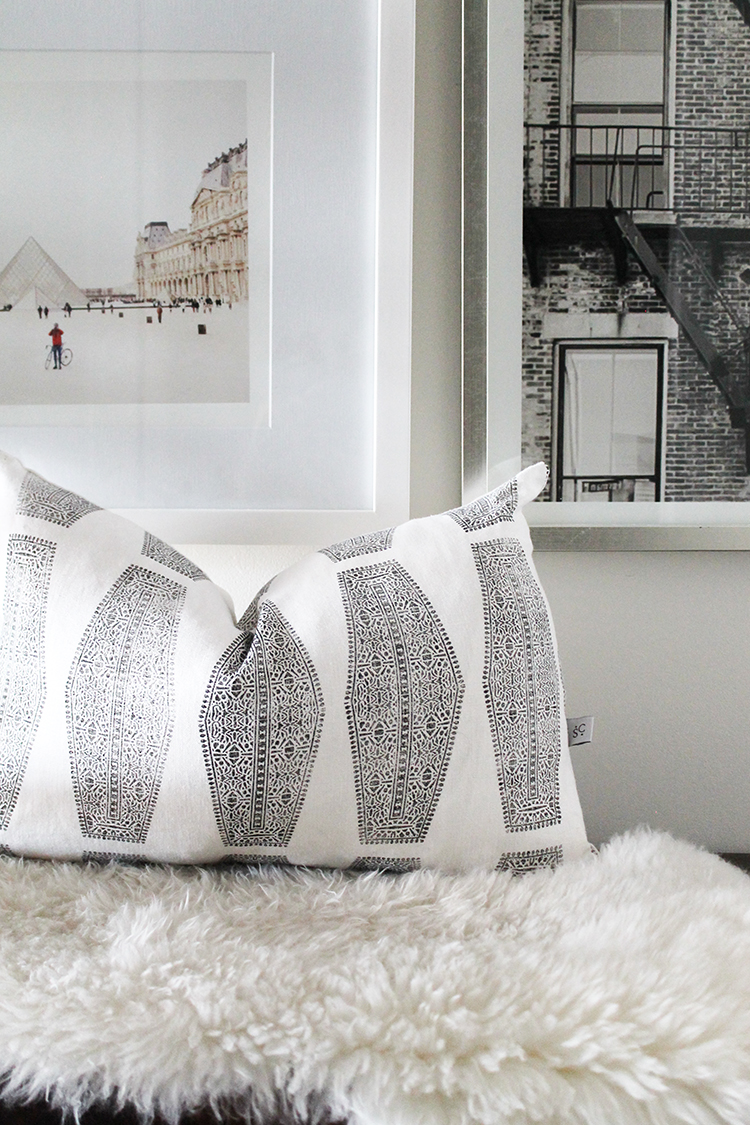
6. YOU WILL NEVER KNOW THE OUTCOME UNLESS YOU ASK: I really wanted a pillow from Susan Connor in a color combo she wasn’t offering, and because I really wanted the pillow (as in I was obsessed with it!), instead of looking for a replacement I asked her if she could do it and guess what? She said yes and I got my pillow in the colors I wanted. Another success story about just asking is when I approached West Elm to partner with me for the makeover. I honestly didn’t know what to expect but thought it wouldn’t hurt to just ask right? I got a happy surprise when I heard back from them saying they would gift me some items 🙂 So, always keep in mind that there’s nothing wrong with asking and you definitely have nothing to loose. Worst case scenario, you’ll end up right where you are.
7. TOOLS EVERY GIRL NEEDS: Girls, if you don’t own these, please add them to your shopping list, you’ll thank me later! A hammer, a drill, a multi-tool. Alternatively and probably more practical, just get a tools set 😉
8. YOU CAN FIND INSTRUCTIONS ON JUST ABOUT ANYTHING ON YOUTUBE: Guys, they are probably not the prettiest videos but man are they useful!! I searched for so many things and seriously followed them to the T. From sanding walls to getting the right wallpaper paste consistency, google it!
Some of you have asked me about putting together the gallery wall so I’m sharing a post about how I tackled it next week. If you’re interested in reading about that, stay tuned 🙂