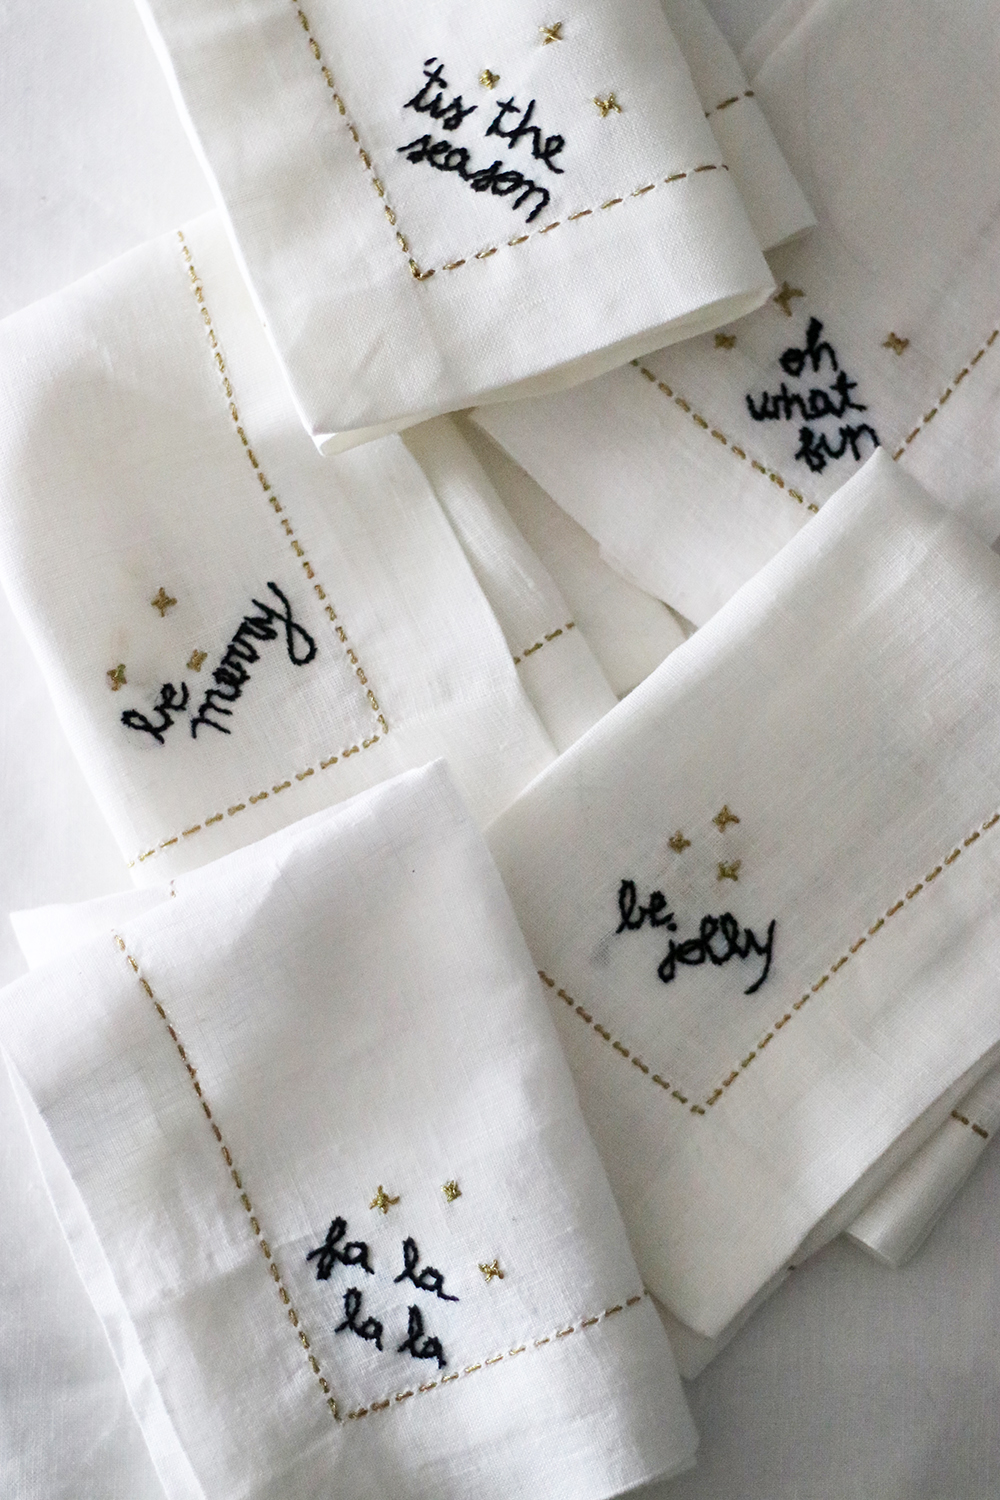
Today I want to show you these embroidered napkins I made with my mom that are perfect for taking your Holiday table scape game up a notch 😉 I hadn’t done any embroidering for years, but with my mom visiting (she’s a pro at embroidering and sewing) it was a fun project to take on together. They really are not that complicated and below I’m detailing the step-by-step in case you’re not familiar with embroidering stitches.
First you need some napkins you’re ok with using. I had these linen napkins from Ikea and thought they were perfect for this. They are $6 for a pack of 2, which I don’t think is bad at all, but you could also check stores like HomeSense, Winners, H&M as I’m sure you’d find something there too. Then you need a fabric pencil (like this one), scissors, and embroidery floss (I used DMC in 310 for the script and DMC 3821 for the edges and stars).
Once you have all your materials gathered, here’s what you need to do:
1. Make sure you are working on a nice wrinkle-free surface so iron the napkins if necessary.
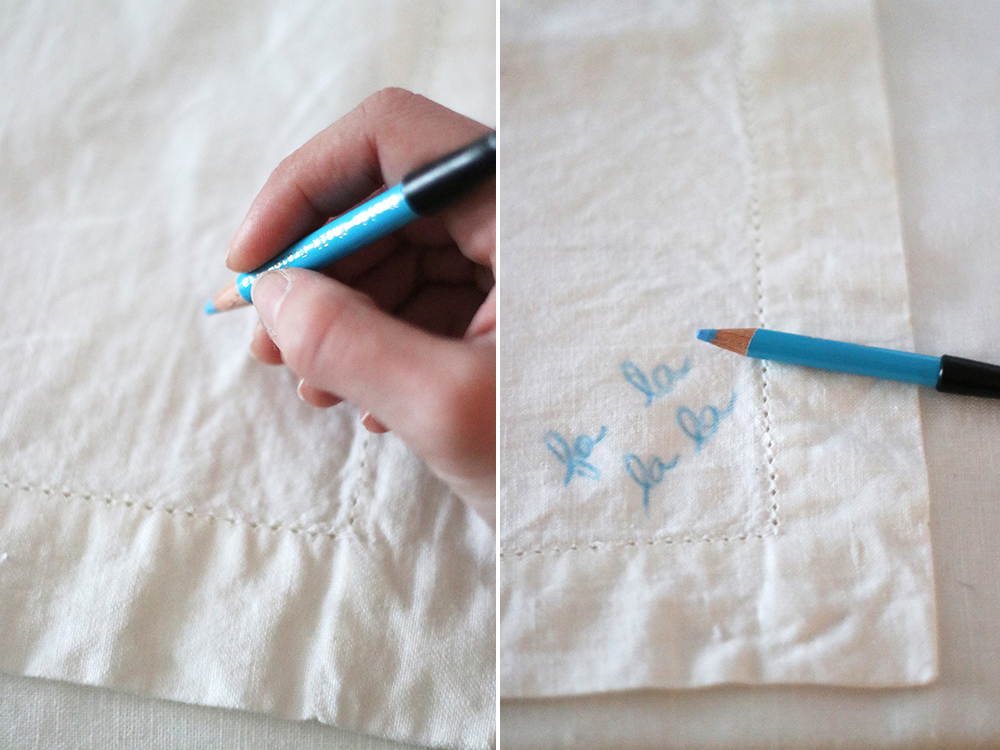
2. Using the fabric pencil, write the words you wish to embroider. Don’t feel discouraged if you find yourself erasing and writing multiple times, I didn’t get it right the first time!
3. There are different type of stitches for outlines but I find the “stem stitch” the easiest of all and it’s the one I used for all the words. Below is the step by step, hope is clear! I also found this tutorial very easy to understand 😉
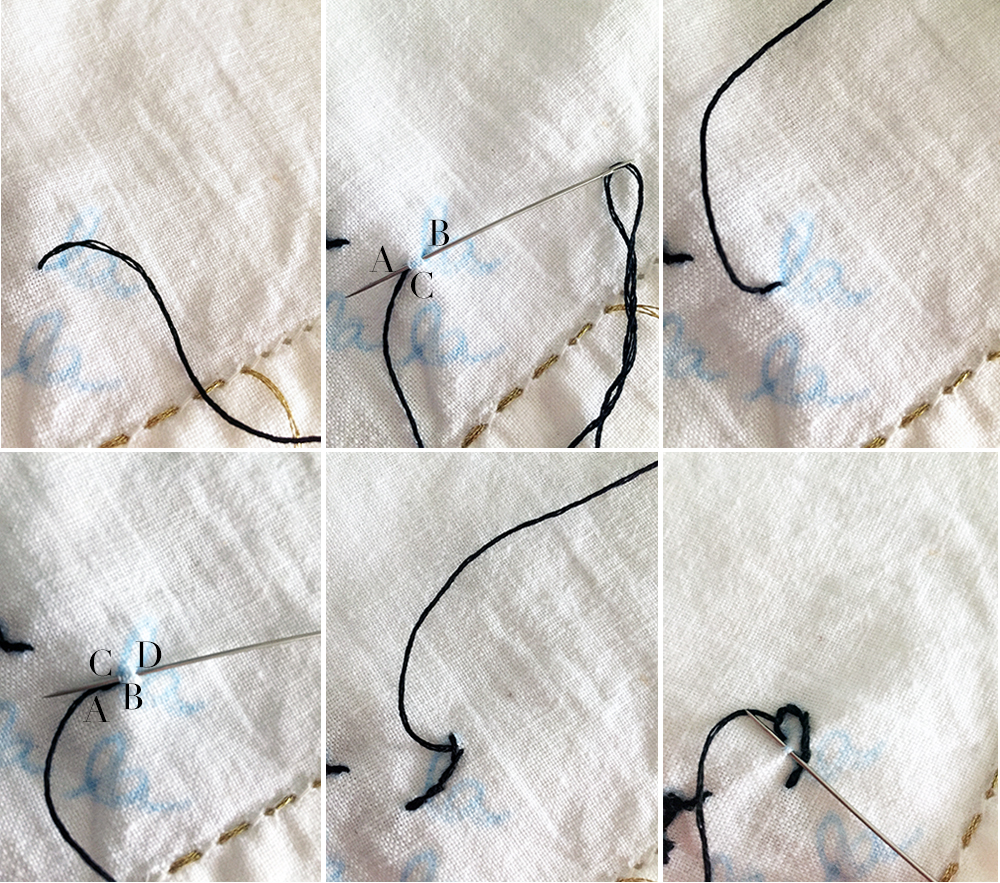
Insert the needle from the back of the napkin and bring it out from point A (where you inserted) to B. Bring out the needle on C (to the right of the thread and somewhere between A and B, closer to B) and insert on D (a stitch length away). Repeat until you have completed the outline and secure with a knot on the back side.
For the gold trim and stars below are the instructions.
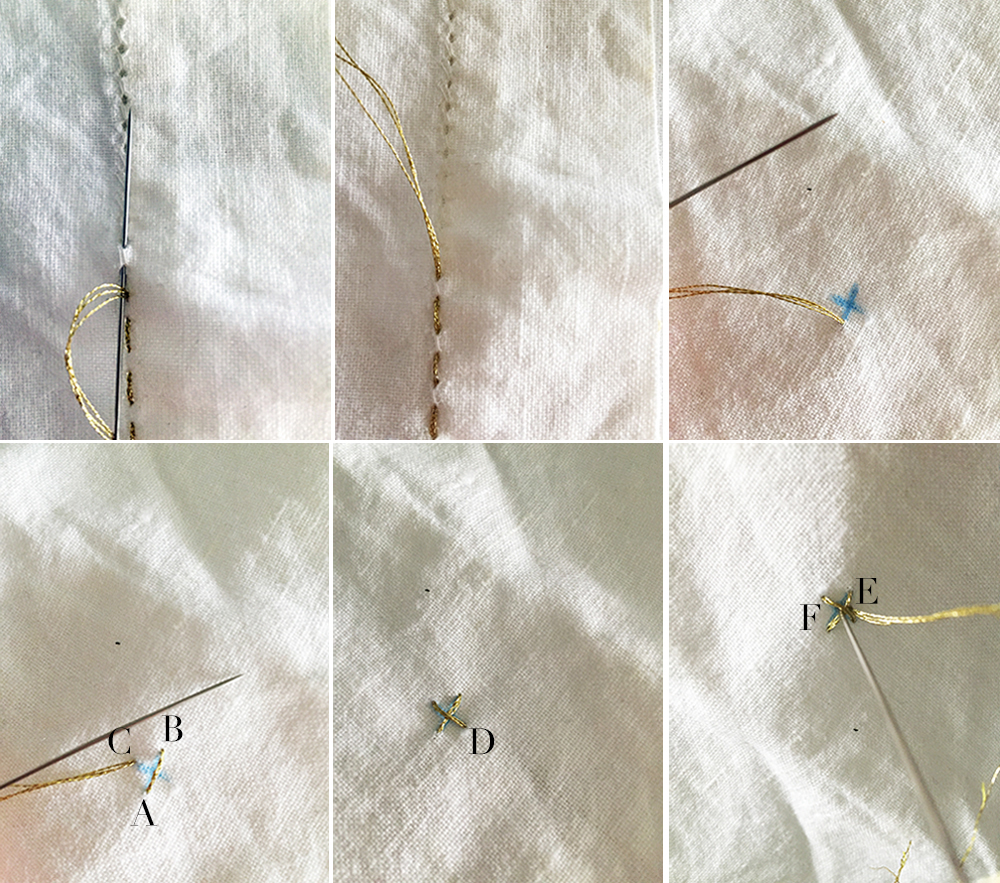
For the border you’re basically inserting the needle in and out, which was super easy with the napkins I had because the holes were already there. I just followed it until completed.
For the stars you’re going to make an “x” mark on the fabric with the pencil and follow from A to B to C and D to complete. Then secure the “x” with a single stitch from E to F.
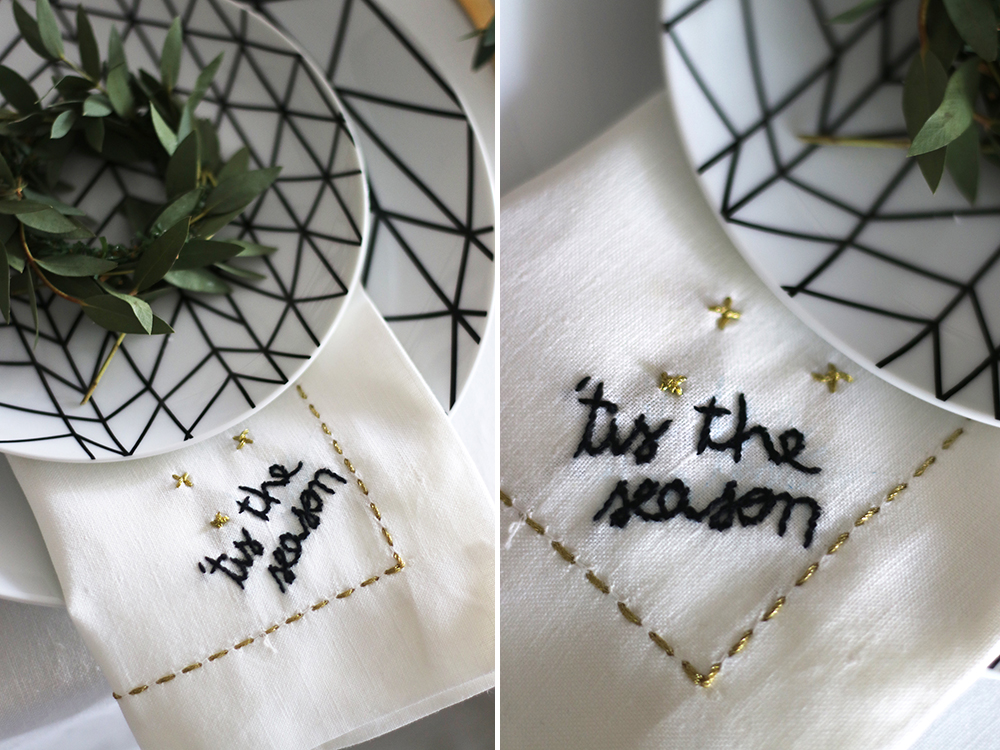
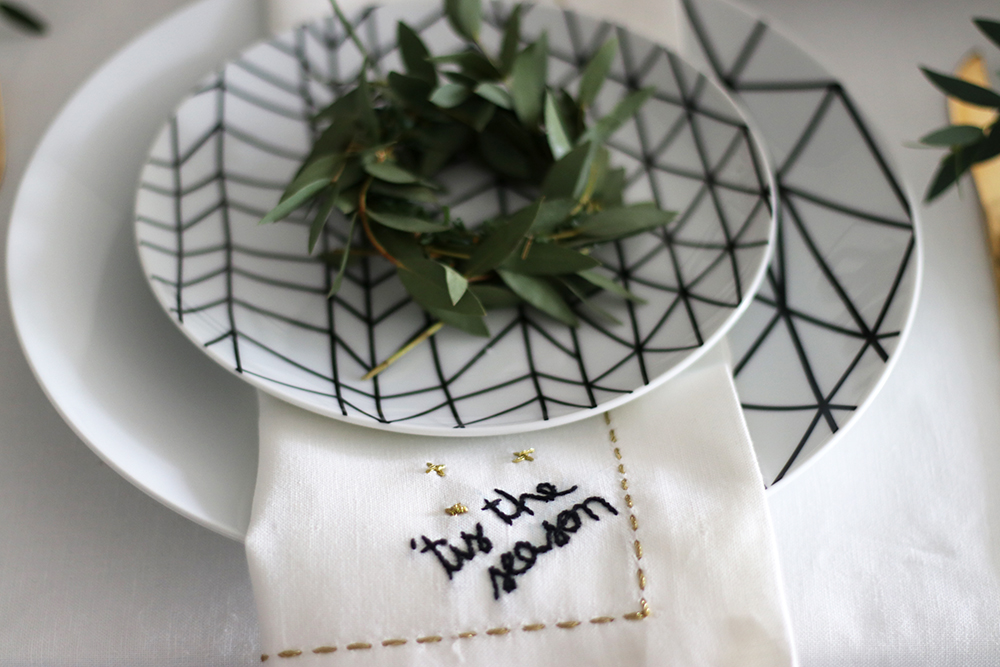
And you’re done! I love how these turned out and I feel like they definitely dress up my table scape! They would also make a great gift for someone who loves to entertain!