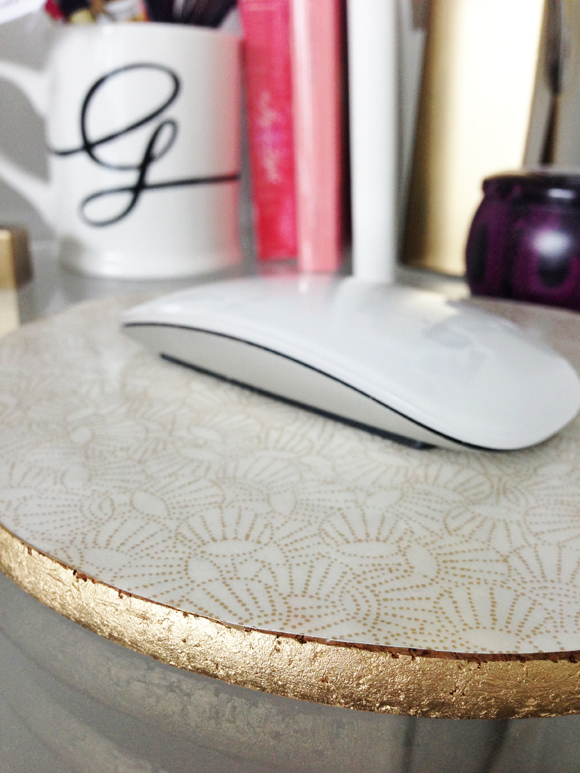
When I moved my laptop to my bedroom desk, I realized that my mouse would not function on acrylic, so for the first couple of days I was just using a notebook as a mouse pad. But since I knew that the notebook idea wasn’t going to last very long, I started to look online for cute mouse pads. First I considered this one, but I honestly can’t remember why I turned down that option, I think the shipping was kind of pricey (?). Anyway, I then came across this one, but unfortunately they didn’t have it here in Toronto* and I guess I wasn’t willing to pay the International shipping fee (why does everything has to take soooo much money to get here?!). So, desperate for a solution, my self made mouse pad was born! And I LOVE it!
I had everything I needed so this took me less than 15 min to do. You just need:
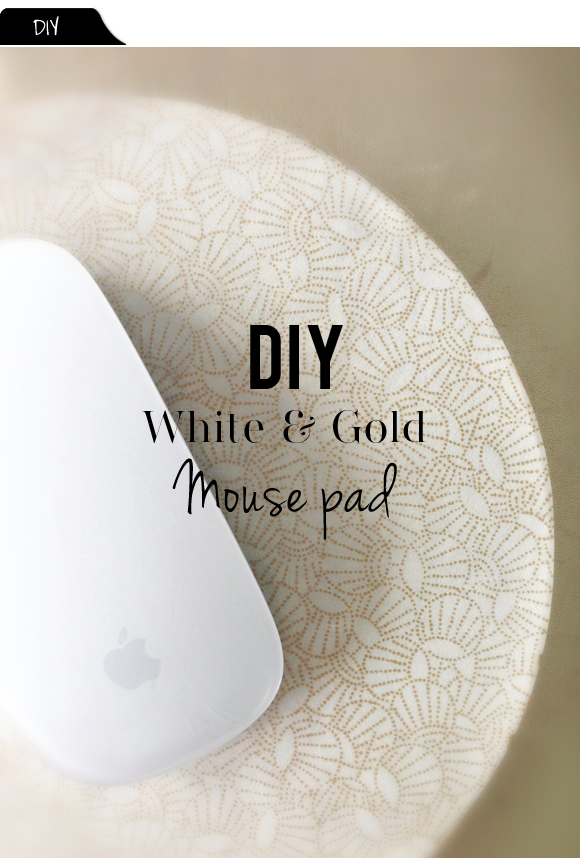
– A cork pad (I used this from IKEA, which is peeeerrrfect since you don’t have to do any cutting!)
– Any type of paper you like (I used a piece of the same Chiyogami paper I used for this)
– Transparent Self-adhesive vinyl.
– Scissors and a pencil to trace both the paper and vinyl.
– Glue.
– A gold leafing pen to paint the edge.
And the instructions are just as easy as tracing the pad on the paper and vinyl, cutting one piece of paper and two pieces of vinyl (this is very important, otherwise the glue will spoil the paper, and trust me, I made the mistake and it’s not good!) Then you’re going to stick the vinyl pieces to each side of the paper piece and then just glue it to the pad. To finish it off, paint the edge with gold leafing pen and voilà! See? I told ya it was extremely easy 😉
*Thank Goodness they didn’t have here, otherwise I would have paid $30 while this one came under $5!